

First Holy Communion banner kits are a wonderful tradition, giving children a hands-on way to connect with their faith as they prepare for this major sacrament. Most kits come with everything you need—felt, pre-cut symbols, and dowels—making for a simple but deeply meaningful craft project. For the church, they create a beautiful, unified look for the ceremony itself.
A Cherished Tradition of Faith and Creativity
First Holy Communion banners are so much more than a craft project. They represent a vibrant, personal tradition that helps children truly connect with this sacred milestone in their lives. The simple act of creating something with their own hands makes the big, abstract concepts of faith feel more real and memorable. I’ve seen it time and again: this becomes a treasured activity for families, a chance to sit down together and talk about the meaning behind the symbols they’re piecing together.
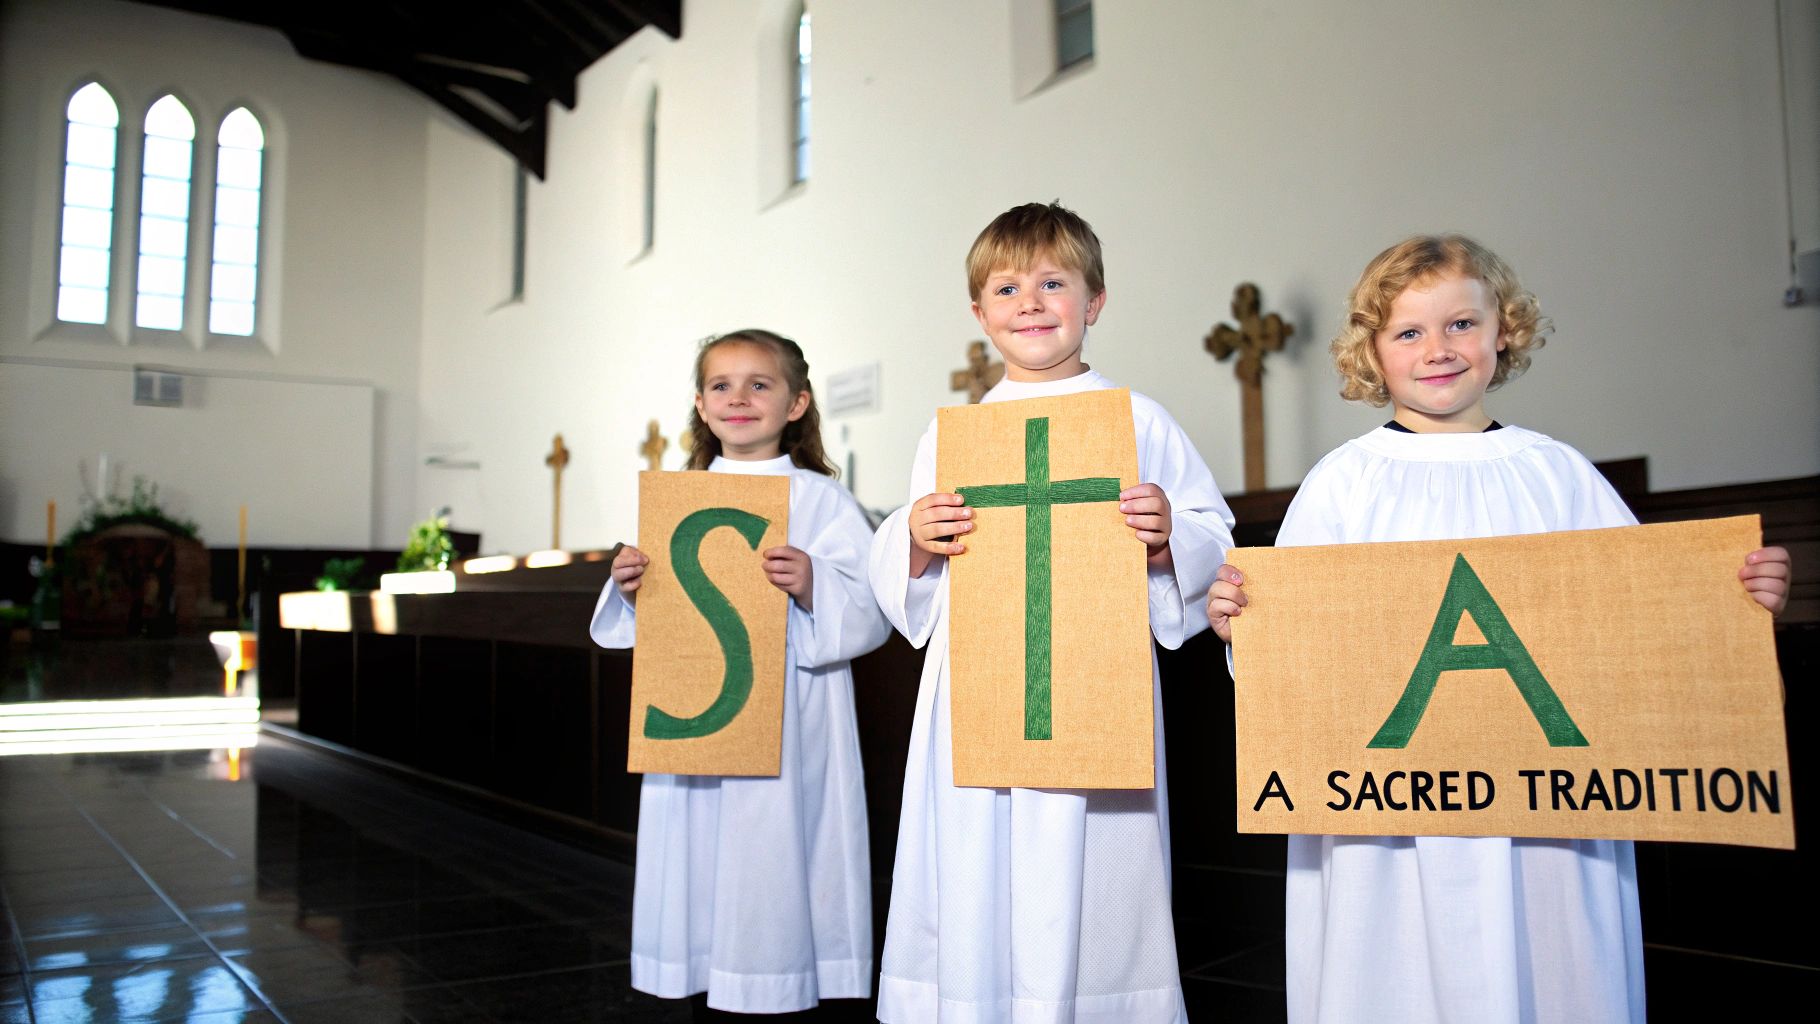
These simple first holy communion banner kits take basic pieces of felt and symbolic shapes and turn them into a powerful expression of a child's budding faith. The whole process naturally gets them thinking about the sacrament.
Making the Sacrament Meaningful
For parents and church coordinators alike, these kits are a fantastic tool for engaging children in their spiritual journey. A hands-on activity like this helps all those lessons from catechism class really sink in. Instead of just hearing about symbols like the chalice, the host, or the dove, kids get to see and touch them, arranging them in a way that feels unique to them. This creative process reinforces their understanding in a way that’s joyful and interactive, not just academic.
The benefits go beyond individual learning, too. When an entire class creates their banners, it builds a real sense of community and shared experience. Displaying all the finished banners together during the ceremony creates a powerful visual testament to the children's collective step forward in their faith.
This hands-on tradition does more than just decorate a church; it builds a bridge between a child's understanding and the profound mystery of the Eucharist, creating a keepsake that families will cherish for years to come.
Coordinating a Beautiful Ceremony
One of the best parts of using first holy communion banner kits is the ability to create a visually stunning and cohesive theme for the First Communion Mass. The banners, often hung from the pews where the children sit, add a personal and colorful touch to the church’s decor.
This visual harmony is especially impactful when you coordinate it with other parts of the celebration. The colors and symbols on the banners can be thoughtfully matched with liturgical decorations and even the children's attire, like their pristine white choir robes. The history of choir robes shows a long tradition of using apparel to signify sacred roles, and tying the banners in with these garments really elevates the sense of occasion.
This guide will walk you through everything from selecting the perfect kit to creating a truly memorable celebration.
How To Choose The Perfect Banner Kit
Picking the right first holy communion banner kits can genuinely make or break the crafting experience for your group. The idea is to find something that’s fun for the kids to put together, but also results in a beautiful memento that feels right for such a sacred ceremony. Honestly, the best choice really boils down to your group's size, your budget, and the final look you're aiming for.
Think about it this way: a big Sunday school class with 30 or more kids needs something simple and low-mess. Kits with pre-cut, peel-and-stick felt shapes are a lifesaver for coordinators in that situation—easy to hand out, easy to clean up. But if you're working with a smaller group at home, you might want a kit with more creative freedom, like one that throws in extra felt sheets, glitter glue, and sequins.
Balancing Budget With Quality
Let's talk about the budget. It’s always a factor, especially when you’re outfitting a whole class. The trick is to find that sweet spot between cost and quality. A super cheap kit might catch your eye, but if the felt is flimsy and the glue doesn't stick, you'll end up with frustrated kids and a banner that looks a bit sad.
One of the best ways I’ve found to manage costs is to buy in bulk. Most suppliers give you a pretty good discount on larger orders, which drops the per-kit price way down. This makes it possible to get good materials for everyone. Also, look at what’s actually in the kit. A slightly pricier option that includes the dowel rod, hanging cord, and a bunch of different symbols often gives you better value than a bare-bones kit where you have to buy all those extras yourself.
These kits have come a long way. What started as simple homemade crafts has blossomed into a full-blown market, now valued at $5-7 million a year in North America alone. That demand is fueled by over 17,000 Catholic parishes. The shift really took off after the liturgical renewal in the 1960s, and by 1990, the standard 12"x18" pre-cut felt kit—a size recommended by 65% of U.S. dioceses for pew decorations—was commonplace.
To help you decide what works best for your group, here’s a quick comparison of the common options available.
Comparing First Communion Banner Kit Features
| Feature | Basic Felt Kit | Deluxe Craft Kit | DIY Materials |
|---|---|---|---|
| Skill Level | Beginner (Great for young kids) | Intermediate | Varies (Can be complex) |
| Mess Factor | Low (Often peel-and-stick) | Medium (Glue, glitter involved) | High (Cutting, gluing, etc.) |
| Prep Time | Minimal | Low | Significant (Requires planning) |
| Customization | Limited | High | Total Creative Freedom |
| Cost Per Child | $ - $$ | $$ - $$$ | $ - $$$ (Depends on materials) |
| Best For | Large groups, Sunday school | Small groups, at-home crafting | Creative families, specific themes |
Ultimately, the best kit is the one that fits your specific situation. A basic kit is perfect for simplicity and scale, while a deluxe or DIY approach allows for a more personal touch if you have the time and resources.
Matching The Banner To Your Church Aesthetic
Beyond the practical stuff, you want the banner to look like it belongs in your church. A well-chosen banner should blend right in with your sanctuary’s liturgical decor, not stick out like a sore thumb.
Take a look around your sanctuary. What are the dominant colors? Many churches use specific liturgical colors during the Easter season when First Communions are common. Picking a banner kit with colors that complement your church's environment creates a much more cohesive and reverent feel. For example, if your church has a lot of rich wood and gold accents, a banner with deep reds, greens, and gold felt would look absolutely beautiful. We have a few more ideas on seasonal decor in our post about designing a Christmas church banner.
And don't forget the children's outfits! The banners will be right there with them, so they should coordinate with their white robes or suits. Banners with bold, bright colors pop beautifully against the simple white of the robes, making for a stunning and memorable visual on this incredibly special day. Getting a handle on different material options, like those covered in a good banner PVC printing guide, can also help you make a choice that looks great and lasts.
Assembling Your First Communion Banner
Bringing a First Communion banner to life from a handful of felt pieces is one of the most memorable parts of the journey. It's more than just a craft project; it's a chance for a child to put their own creative touch on a symbol of their faith. With a bit of prep, assembling one of these first holy communion banner kits becomes a wonderful experience for everyone involved.
The first thing to do is set up your crafting space. Clear a big, flat surface, like a dining room table, where you can spread everything out. Unpack the kit and lay out all the felt shapes—the chalices, crosses, doves, and letters—so you can see exactly what you have to work with. A little organization now saves a lot of time hunting for a specific piece later.
This quick visual guide breaks down how to pick the right kit from the start, which makes the whole assembly process go much more smoothly.
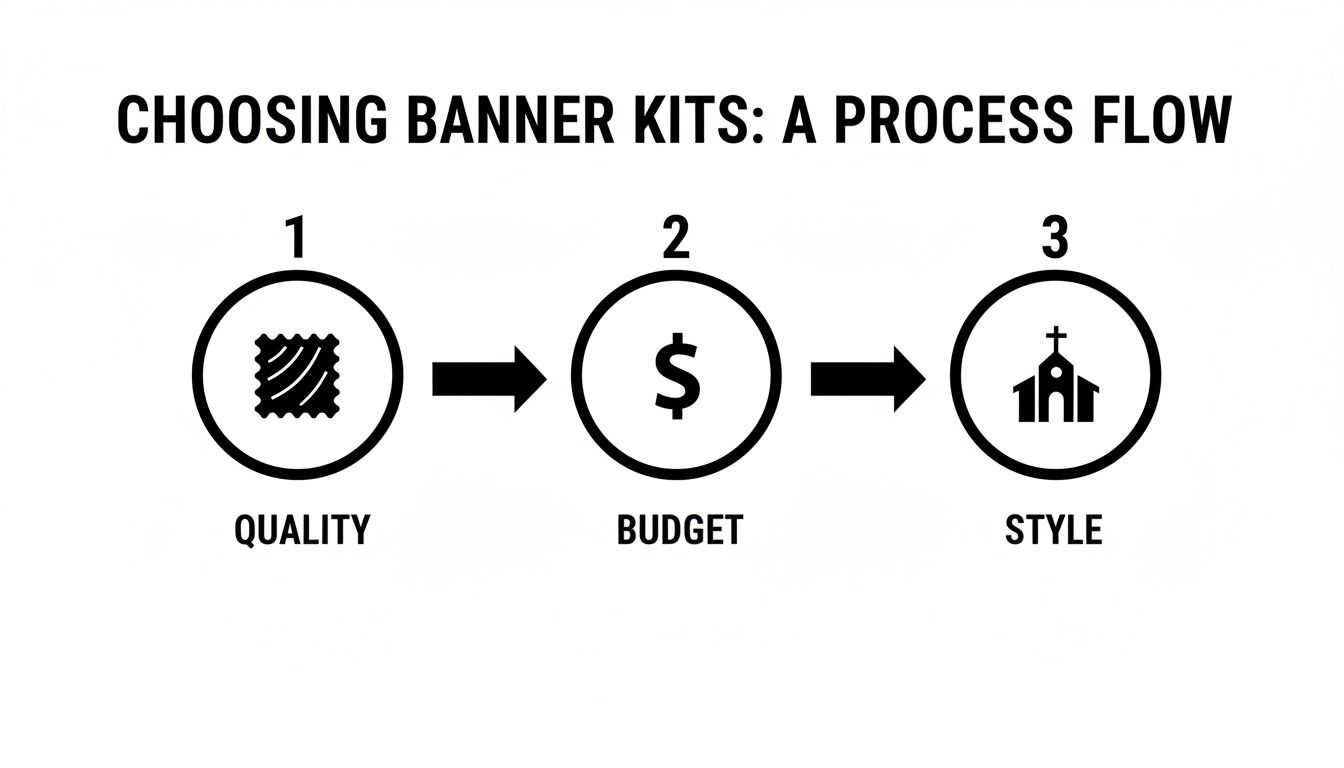
As you can see, the sweet spot is finding a balance between the quality of the materials, your budget, and the overall style of your church. Getting this right is the foundation for a banner you'll be proud of.
Placing The Peel-And-Stick Symbols
Once you’re organized, the real fun can start. Before you peel the backing off anything, I always recommend doing a "dry run." Let your child arrange the felt symbols on the banner to figure out a layout they love. This is the time to experiment with different designs without any pressure.
When the design is set, you can begin sticking the pieces down. Carefully peel the paper backing off one shape at a time and press it firmly onto the banner. Smooth it down from the middle out to the edges to get rid of any wrinkles or air bubbles. If you plan on adding your own embroidered details or stitched embellishments, looking into different types of stabilizers for sewing can give your banner extra body and a more professional finish.
Helpful Hint: I've found it's best to start with the biggest or most central symbol, like the cross or chalice. This piece acts as an anchor for the rest of the design, making it much easier to line up the smaller elements symmetrically around it.
Personalizing With Names And Dates
This is the step that turns a craft project into a personal keepsake. Most kits include a set of felt letters for adding the child’s name and the date of their First Communion. Just like with the symbols, lay out the name and date on the banner first to check your spelling and spacing before making it permanent.
If the kit doesn't have letters, or you just want a different look, you have plenty of other creative options. Fabric markers work great for writing directly on the felt, and puffy paint adds a fun, 3D texture that kids love. This is a perfect opportunity for the child to add their own unique flair.
These kits, typically measuring 12 inches by 18 inches, are incredibly popular because they let families create something beautiful without the mess of glue. In fact, you can find over 1,000 unique listings for these kits online, and sales often jump by 25% in the spring as communion season gets into full swing. We see this a lot with bulk orders from churches needing to outfit classes of 20-50 children at a time.
Final Touches For Hanging
The last step is getting the banner ready for its big debut. The kit should include a wooden dowel rod and a hanging cord. Just slide the dowel through the pre-sewn sleeve at the top of the banner.
Next, tie the cord to both ends of the dowel. A simple, tight double knot on each side is all you need to make sure it's secure. Now it’s ready to be displayed proudly on the church pew.
Bringing It All Together: Coordinating Banners, Apparel, and Decor
When you’re planning a First Communion ceremony, creating a truly cohesive visual theme can elevate the entire experience. The banners your children make aren't just standalone art projects; they're a vital part of the church's atmosphere for this special day. Thinking about how they will blend with the church's existing decor and the children's attire from the start makes a world of difference.
This harmony turns simple decorations into a powerful visual story. Imagine the colors and symbols on the banners echoing the rich tones of a stained glass window, the color of the altar cloths, or the liturgical hangings for the season. A well-planned visual approach makes the celebration feel more intentional, beautiful, and reverent.
Matching Banners to Liturgical Garments
One of the most impactful ways to create a unified look is by pairing the first holy communion banner kits with what the children are wearing. The traditional crisp white of their dresses or robes acts as a perfect backdrop, making the colors on their banners really stand out.
But you can take it a step further. For example, if the children are wearing choir robes with gold stoles or trim, encourage them to use gold felt or glitter from their kits. This simple touch creates a stunning connection between their personal banner and their ceremonial outfit. It’s these little details that truly enhance the sense of occasion. For more ideas on how different styles can work, take a look at our guide for selecting a children's choir robe that will pair beautifully with their handmade banners.
A thoughtfully coordinated banner and robe combination does more than just look nice; it visually reinforces the child's role in the sacrament. The banner becomes an extension of their ceremonial dress, symbolizing their unique and personal step of faith.
Planning the Procession and Display
Beyond just making the banners, think about how they will be featured during the service itself. As a worship leader, you can create some incredibly moving moments by planning their role in the liturgy.
Will the children carry their banners in the opening procession? This is a fantastic way to begin the Mass, creating a vibrant, personal entrance that showcases their hard work and builds a sense of joy and anticipation.
Another great option is to display the banners on the pews where the children and their families will be sitting. This adds a beautiful, personalized touch to the worship space.
Here are a few practical ideas:
- Processional Banners: Children can hold their banners high as they walk down the aisle. It’s a wonderful photo opportunity and a way to actively involve them right from the start.
- Pew Decorations: Fasten the banners to the end of the pews to designate a special section for the communicants, making the space feel uniquely theirs.
- Altar or Sanctuary Display: After the procession, arrange the banners near the altar or in the sanctuary. This creates a colorful backdrop and keeps their creations central to the celebration.
Pairing these banners with classic liturgical garments, like our children's surplices, truly completes the look. The clean, traditional lines of a surplice, combined with a colorful, child-made banner, presents an image that is both pure and deeply personal, underscoring the reverence of this sacred milestone.
Showing Off and Saving Your Finished Banner
Once the last piece of felt is in place, your child’s First Communion banner is officially complete. But its journey is far from over. This beautiful creation deserves to be displayed proudly during the ceremony and then preserved as a cherished keepsake for years to come. Thinking ahead about how you'll show it off and care for it will ensure it remains a vibrant reminder of this incredible spiritual milestone.
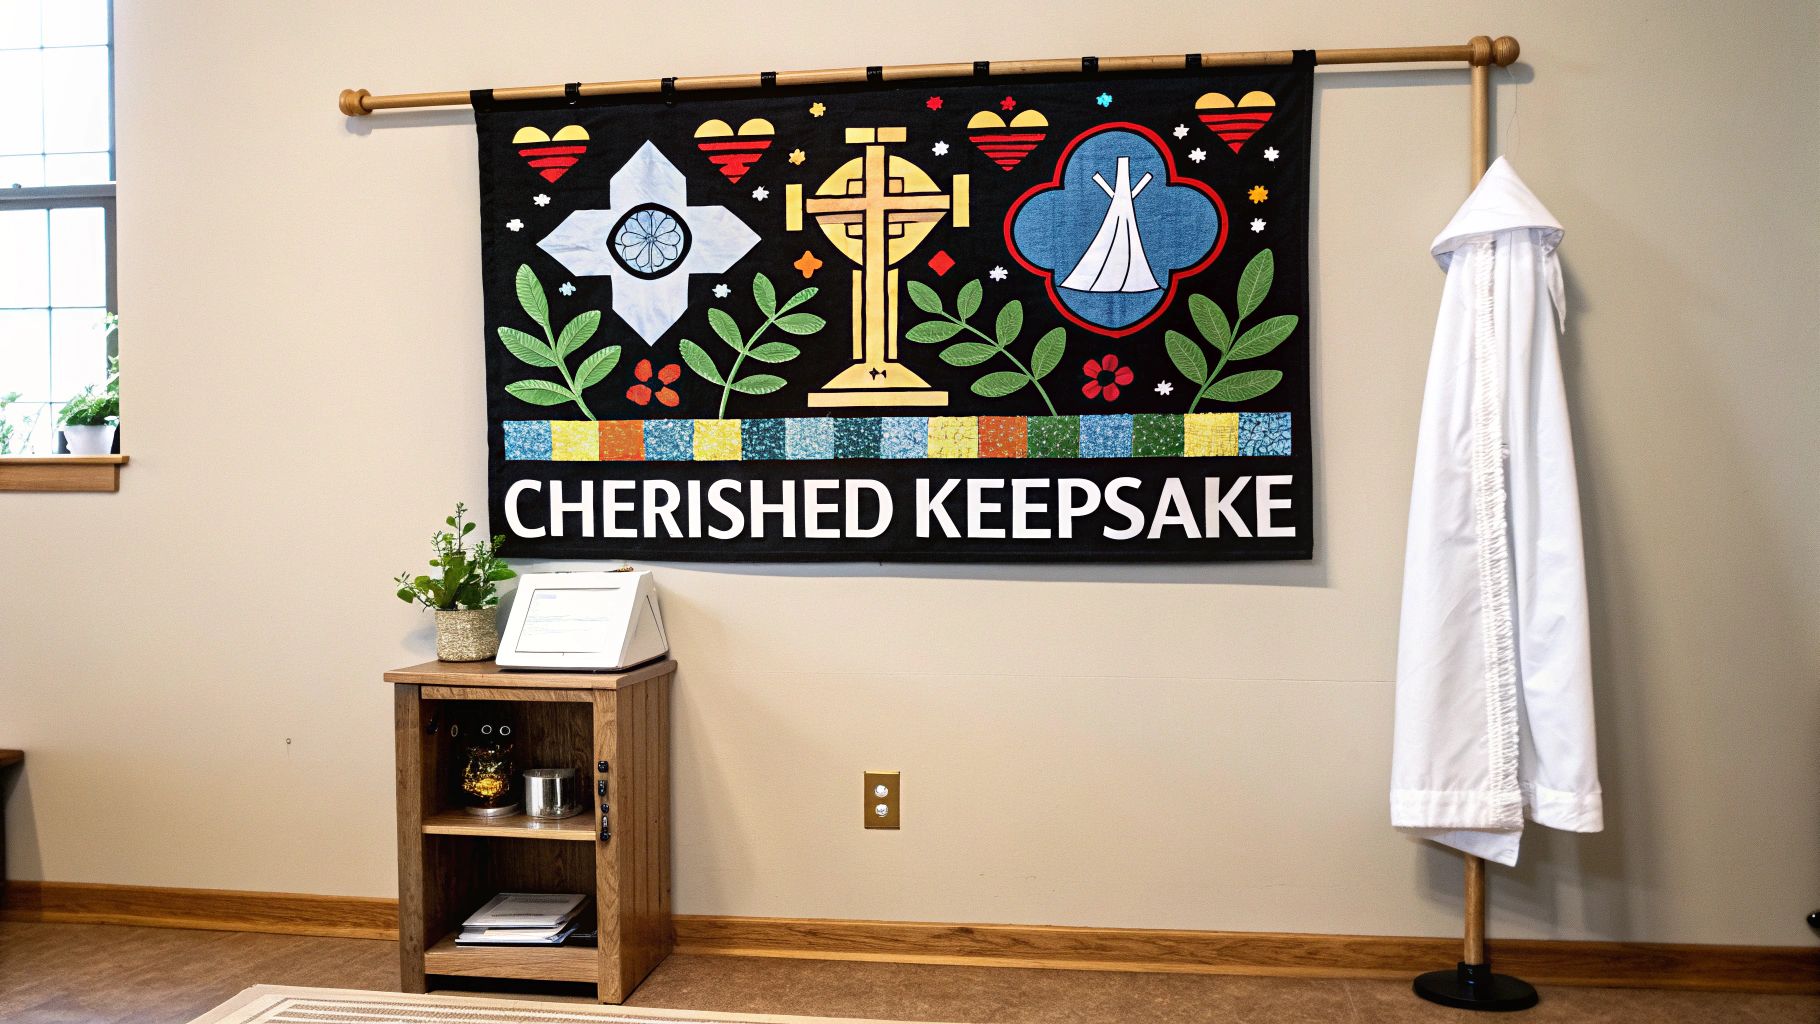
During the celebration itself, these banners bring such a personal and colorful touch to the church. Many parishes will line the pews reserved for the communicants with them, creating a unified and deeply personal display that honors each child's unique creation. Another wonderful approach is to set up a special gallery wall in the parish hall, where all the banners can be admired together during the reception.
Tips for a Perfect Display on the Big Day
One common headache with felt banners is their tendency to curl at the edges, especially if they've been stored rolled up. An easy fix is to attach small, weighted items like decorative beads or tassels to the bottom corners to help them hang straight. Another trick I’ve seen work well is to lightly iron the banner on a low setting the day before—just be sure to place a cloth between the iron and the felt to protect it.
A little attention to detail really makes the difference. It’s no surprise that first holy communion banner kits have become so popular, with market penetration in U.S. parishes reaching 85%. Most kits offer sizes from a minimum of 10"x12" up to 12"x18", which is a practical size for good visibility on wide pews. It's also interesting to see supplier data showing that the 70% of kits including extra white felt for chalice designs correlate with a 30% higher satisfaction rate from parents.
Keeping the Banner as a Cherished Keepsake
After the party is over, taking a few simple steps to care for the banner will preserve its colors and shape for the long haul. Think of it like caring for a first choir robe—a little effort now means it will last for decades.
Just as a photograph captures a moment, a well-preserved banner holds the memory of a child's faith and creativity. Storing it correctly ensures it can be brought out for anniversaries and celebrations for many years.
To clean it, all you need is a gentle pass with a lint roller to pick up any dust. Definitely avoid washing it, as water can make the felt colors bleed and will likely weaken the glue. When it comes to storage, the golden rule is to keep it flat in a cool, dry, and dark place.
Here are a few simple storage ideas that work great:
- Acid-Free Box: Lay the banner between sheets of acid-free tissue paper inside a keepsake or storage box.
- Garment Bag: You can also hang the banner inside a breathable garment bag in the back of a closet.
- Art Portfolio: A large artist's portfolio is another excellent option for keeping it perfectly flat and protected from dust.
By following these simple tips, this memento of faith will stay as beautiful as the day it was made, much like other important church decorations such as well-cared-for Easter banners for church celebrations.
Answering Your Top Questions About Communion Banner Kits
When you're planning a First Holy Communion, questions are bound to pop up, especially when it comes to traditions like creating banners. I've worked with countless church coordinators and parents over the years, and a few key questions always come up. Let's walk through them so you can plan with confidence and make the crafting process a joy for everyone involved.
Getting these little details sorted out early on really helps keep the stress down. That way, everyone can focus on what truly matters: the spiritual journey and the creative fun of the activity.
How Many Banner Kits Should I Order?
For any group project, plan on ordering one first holy communion banner kit for each child. Simple enough, right? But here’s a tip from experience: always order a few extras. You'll be so glad you did when a new student joins the class last-minute or a little crafting mishap happens.
Look for suppliers who offer bulk pricing. It’s a great way to stay on budget, and it often makes grabbing those extra "just in case" kits much more affordable. A little planning here saves a lot of headaches later.
What Is The Best Age For This Activity?
These banner kits are really made for the typical First Communicant. Kids aged 7-8 are at the perfect sweet spot for this kind of hands-on project.
The no-mess, peel-and-stick design is a lifesaver. It’s perfectly matched to their developing fine motor skills, allowing them to handle the felt shapes and place them with pride. You avoid the potential frustration (and mess!) that can come with things like liquid glue or sewing.
The real magic of these kits is how they empower young children. They get to create something beautiful and meaningful that’s all their own, which deepens their personal connection to the sacrament.
Can We Add Our Own Decorations?
Absolutely! In fact, I highly encourage it. Letting the kids add their own personal flair is what makes these banners so special and unique. Many families and classes love to bring in extra supplies to really make them shine.
Some popular additions include:
- Glitter glue for a bit of sparkle
- Colorful yarn to frame the banner with a textured border
- Small sequins or plastic gems to make symbols pop
- Fabric markers for writing their name or a special message
Just one piece of advice: have a quick chat with your parish or church coordinator beforehand. Some churches have guidelines about certain materials (especially glitter!) to keep the worship space tidy. A quick check-in ensures there are no surprises on the big day.
How Far In Advance Should We Start?
To keep the whole experience fun and low-pressure, I always suggest starting the banners about two to three weeks before the First Communion ceremony. This gives you plenty of breathing room to get everything done without anyone feeling rushed.
Breaking up the project into a couple of sessions is a great idea. It keeps the kids engaged and prevents them from feeling overwhelmed. This timeline also builds in a nice buffer for any hiccups, ensuring every single banner is ready and looking beautiful for the celebration.
At ChoirBuy, we know how important a cohesive and reverent atmosphere is for such a sacred day. As you help the children create these wonderful banners, consider how our pristine choir apparel can complete the picture, creating a truly unified and memorable presentation. You can explore our full collection at https://www.choirbuy.com to find the perfect garments for your communicants.